|
LIUtilities WinBackup
Creating a Backup

Before we can begin making the backup, we have to create a new backup job.
We can do this by clicking the "Create Job" button at the bottom right
of the screen. Enter the name for your new job (Tip: Choose something descriptive
of the backup you are performing).

We now move to the "Add/Remove Files" tab, and select which files
we want to add to our backup. We can choose to simply backup our registry (good
for die hard registry tweakers), our user data, or even our whole drive.
  
We now make our way back to the "Backup Jobs" tab, and click the
"Backup Settings" button at the bottom of the screen to configure
some more advanced settings for our backup job. We can choose a total backup
(all files are added to the archive), or a non-total backup, which is good if
you are updating a backup, and only want to overwrite the modified files (this
saves time). We can also choose to exclude files from our backup (i.e. exclude
all .zip files) in order to save time, and reduce the size of the backup file
created. Other settings available to us include password protecting the backup
(for sensitive data), and options to set the drive/directory where the program
will save its temporary files.

Now that we know what we want to backup, we have to choose a location/filename
for our backup. This can be anything you like, but make sure to make it something
descriptive so that if you stumble across the file whist doing a hard drive
clean out, you wont accidentally delete it.


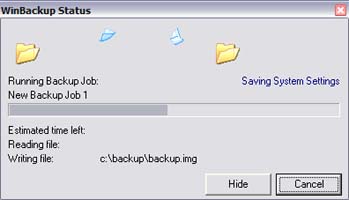
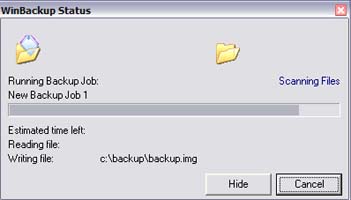
We now simply click "Run Backup" and viola, the program begins backing
up the files you selected. The process does take time, but not nearly as long
as you would expect. For example, in the screenshots above, we can see that
for an 855mb backup, the estimated time is a little over 3 minutes (speed will
vary according to your system specifications).
< < Previous - Package Contents || Next
- Restoring a Backup >>
| 
