|
Reviving the Ball Mouse
By Jarrod "sKuLLsHoT" Mast
THE GREASE N OIL CHANGE
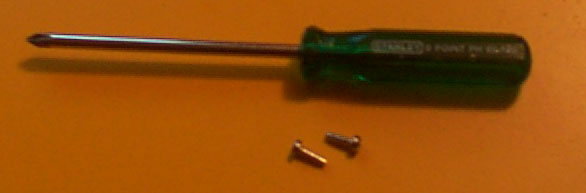
Pop out the ball-retainer and ball and set them aside. Then inspect the bottom
of your mouse for some screws. However many there are, usually only one or two
anyhow, most screws will be located below/beneath a part/serial number on the
mouse, or some other sort of sticker. Remove these bitchin' stickers (this is
where any warranties are thrown into the wind). If these screws are tamper-proof
and you haven't got something that fits it…give up and get a real computer,
because you would have to be using a package deal box, and that, to me, is a
joke!
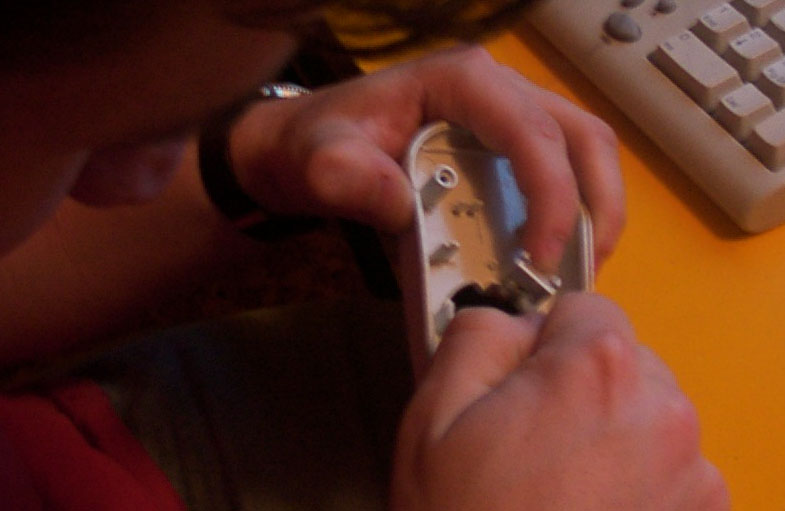
Once the screws are out you should be able to throw the back off the mouse,
and all should be revealed of the inner workings of this baby. The picture below
was meant to illustrate how dirty the mouse was just inside, and also how deformed
some sections were, but it didn't turn out so well.
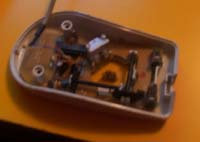
Most mouses should be pretty straightforward and from here you should have
both the rollers (vertical and horizontal) visible, and they will most likely
be clipped in place. I have seen some instances where the ball and rollers are
all housed in a plastic part that screws to the PCB, none-the-less, they all
dismantle, therefore nearly all can be cleaned.
Gently (and I mean gently) separate the clips that retain each roller and remove
them from their clips. With a tissue or light rag, and alcohol (something that
cleans) if you have it, wipe any grime and s**t built up on the rollers off.
Do this also to the clips where the rollers rested. Some of this stuff was electronics-grade
grease that you wiped off and this is where one would reapply it if one had
some (not me!). You will most likely need to use the nailfile/knife here to
get rid of the chunky stuff, like me:

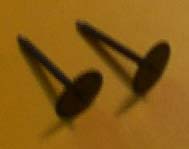
Here is what the rollers should look like, the one on the left is clean,
and the one on the right is dirty, not that anyone else can tell :o)
The other thing to check the optical sensors and infra-red diodes (they are
the two upright parts either side of the Disc part of the rollers) on the circuit
board of the mouse(I tried to get a photo, but it wouldn't come out any good!), make sure they are upright and pointed directly at each
other, not up or anything stupid like that.
That's basically it! Whilst you have the mouse apart though, carry out the
same activities also as one would perform during the "Radiator Top-up"
mentioned earlier in the article.
Once that's all well and good, put the arse back on your mouse and screw him
back in securely. If you start mousing now, you should notice a slight to brilliant
increase in accuracy, response and smoothness of your mouse.
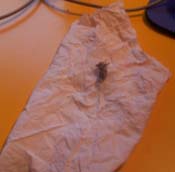
Here's all the crap I found in Silencer's Mouse
If you have any troubles while trying to carry out these tasks feel free to
email me with any queries if say your mouse was waay different and had some
crazy layout, or maybe you found a mouse instance where what I wish to be done
is not feasible. Maybe I'll just laugh at you... ;o)
BACK TO OCM HOME
|