|
Skyhawk Jupiter Aluminum Case
The Internals
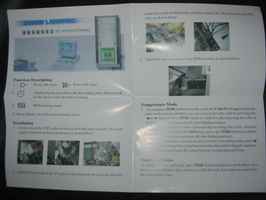

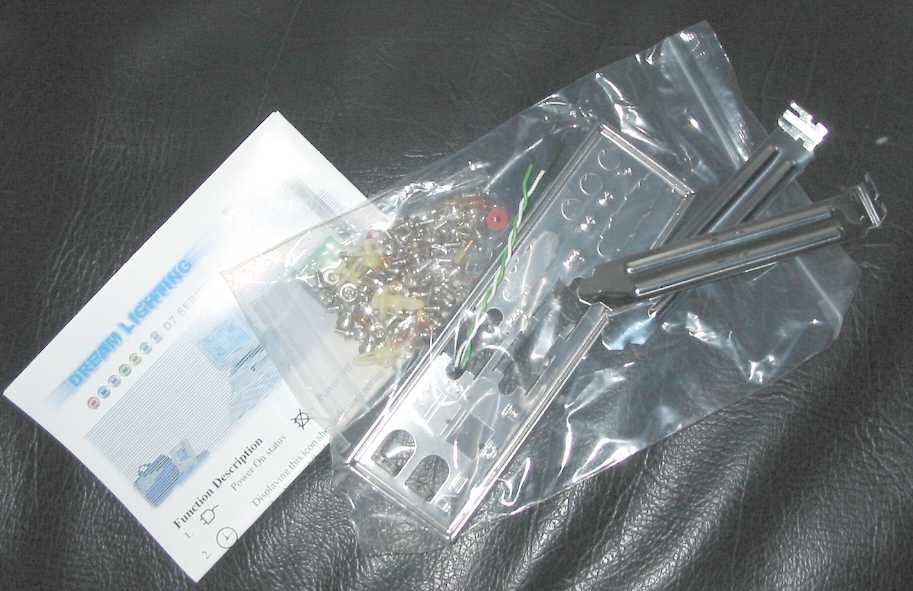
Upon removing the case side, we were greeted by a little white box sitting
on the bottom of the case, which contains instructions on how to use/set up
the LCD, as well as general case instructions. Also in the box were the standard
case accessories, comprising of ATX backplates, spare PCI expansion slot covers,
and a nice bag of screws (can you ever get enough?).
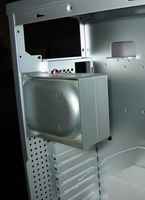
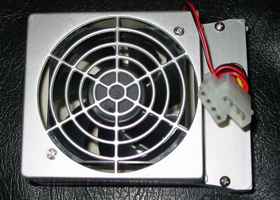
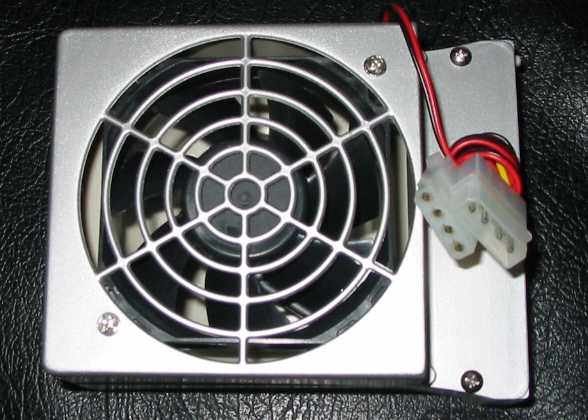
Next we see a nifty little fan duct arrangement, which is positioned above
the CPU, in order to extract the hot air generated from the CPU fan out of the
case. The fan included is another el-cheapo fan, but it does the job, and is
extremely quiet, so I have no problems with that. The only thing I can see which
may cause a problem here, is the fact that if you have your CPU fan blowing
onto the CPU, then this device will compete with it for air, which isn't a good
thing. That being said, you could always change the direction of one of your
fans.
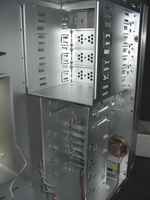

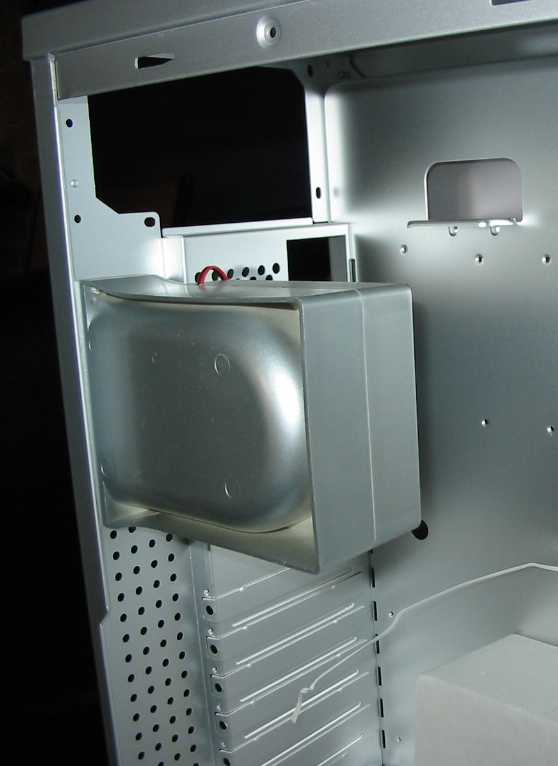
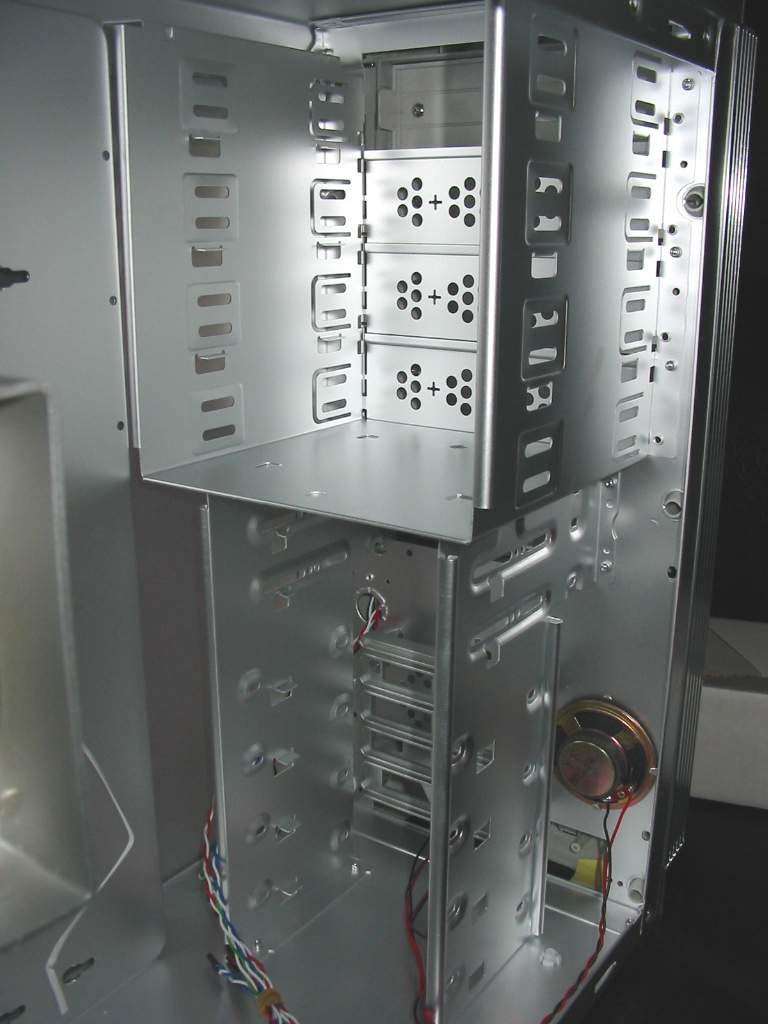
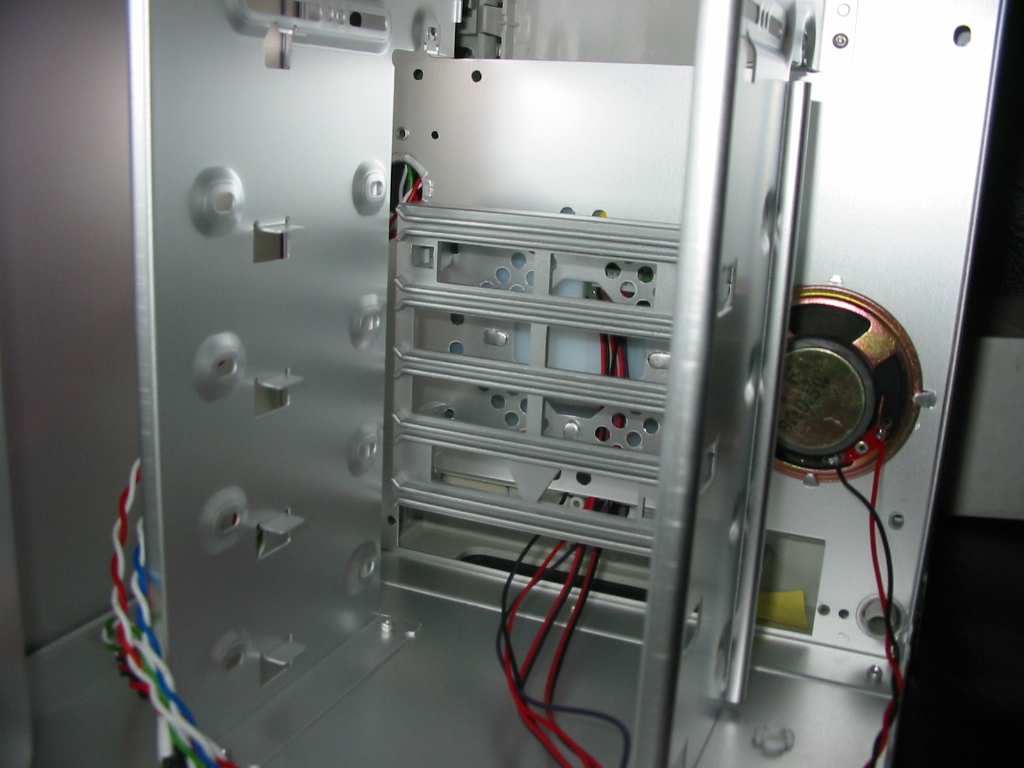
Here we can see the drive bay area of the case. This is pretty standard really,
the only exception to most cases being that there is no fan hole at the bottom
of the front of the case, due to the positioning of the LCD panel. This isn't
a major problem, as the side fan will provide plenty of fresh air, directly
to where its needed, but if your running quad 15k RPM SCSI hard drives, I recommend
using some form of drive bay cooler in order to increase airflow around this
region.
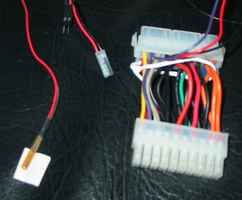
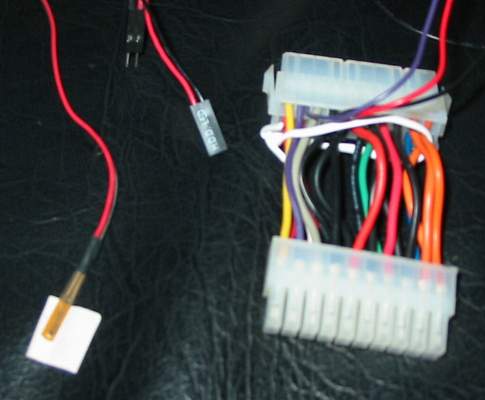
Finally, we see the cables that sprout from the front of the case. On the left
is the temperature sensor, which can be attached to whatever you wish, and will
then display the temperature on the LCD. In the middle is the HDD LED plug,
which, in itself isn't an extraordinary cable, but the fact that it has a pass-through
connector allows you to attach an extra LED/device on this, to function when
the HDD is active. Finally, on the right, is the power connector for the LCD.
It is the standard ATX power connector, with a pass-through which then gets
plugged into the motherboard. It seems that this method of power was chosen
in order to provide ample stable voltages, on all the different rails.
<< Prev - The Externals || Next
- Conclusion >>
|