|
AcePCModz 120mm Mid-tower Case Window Kit
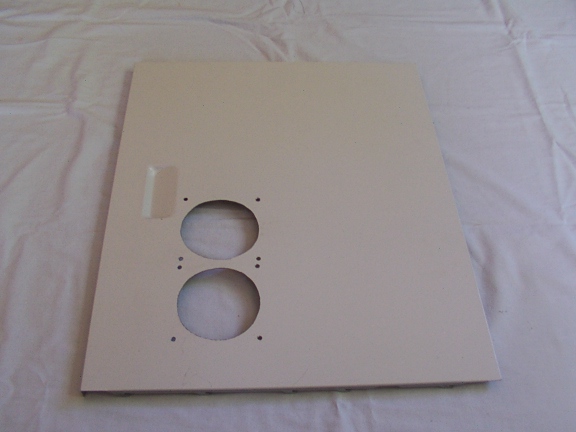
In my case I had two existing 92mm fan holes that I had to remove during the
preperation stage of the modification as seen below:
Now, it should be obvious to you that to put a window in ones case, one has
to cut a hole of some sort, using a tool of some kind, shape or form. We chose
to use a dremel multipro for this little modification, and enlisted the help
of two fibreglass reinforced cutting wheels, along with an assistant to help
steady the case so we could concentrate on cutting.
This part of the process could have been done with a jigsaw or even a nibbler
(If you'd prefer to use either way, it doesn't matter as long as you end up
with a hole.)
Now before I get into the cutting of the hole in more detail how about we RTFM,
so to speak.
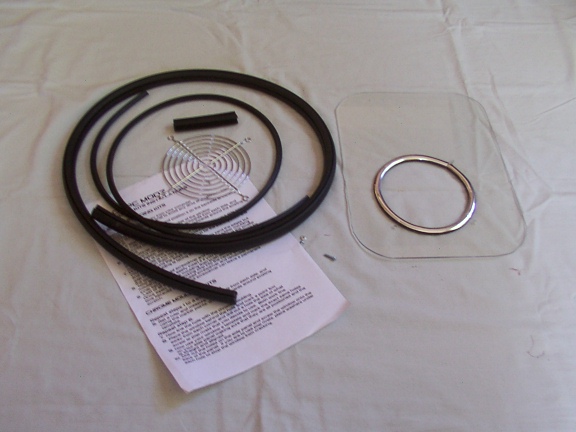
Shown in the picture on page 1 of this article is an A4 Instruction sheet.
Now because any of you could just copy these instructions to make your own case
window we cannot copy the exact content of the instruction sheet, however there
are a few steps I am a little critical of in these instructions.
Firstly of concern is the way it is suggested that one draws their template
to cut around - AcePCModz suggest that you trace the plexiglass window then
using a ruler measure 0.5cm out from as many points as you deem fit to use to
draw a larger version of the window shape. Having performed a window install
from PCCaseGear with sKuLLsHoT once in the past this method seems particularly
time consuming - so I decided to do it the PCCG way - not that it wouldn't work
done the APCM way.
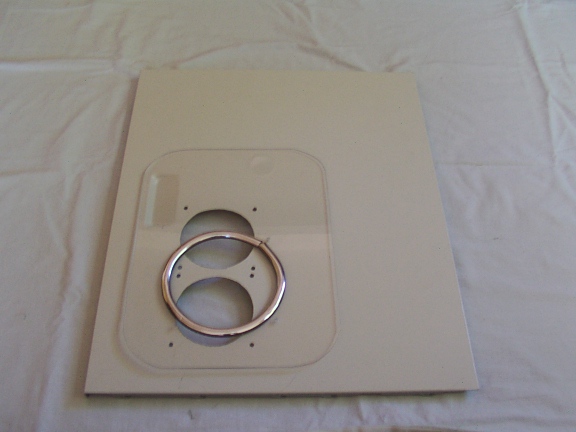
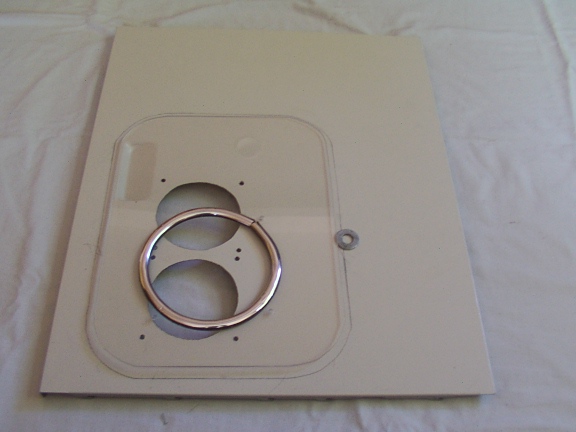
PCCaseGear had the ingenious idea of using a washer - yes a regular washer
- to allow you to draw a larger outline around your window. So simple, and so
fast - especially in light of the APCM's suggested installation method.
Here is our chosen washer - he had the required characteristic of being 5cm
in width between the outer and inner edge.
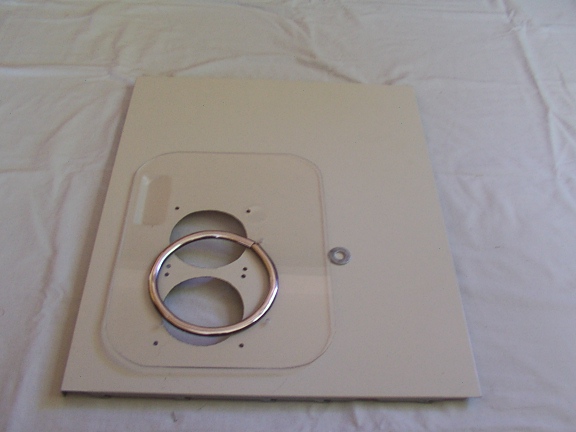
Basically one places a grey lead pencil in the center of the washer and while
holding the window down and in place they run the pencil complete with washer
around the outside of the plexiglass while pushing towards the center of the
window.
The result - a very fast and efficient solution to needing a 0.5mm border around
our window.
I suggest to any of you using this OR APCM's method that you go over your
lines a few times as you want them to stand out as you cut the metal with your
chosen appliance or tool.
< < Back - Page One || Next - Page Three >>
|